You graduated from the walker. Congratulations. That is a huge milestone in your recovery.
However, that first step with just a cane feels scary. The walker felt safe and solid. The cane might feel wobbly.
Do not worry. We will teach you the exact technique Physical Therapists use to protect your new knee and build a normal walk.
Table Of Contents
When Can I Switch From Walker to Cane?
It is not about weeks. It is about strength. Do not rush this step.
You are ready to switch when you meet these three signs:
- Posture: You can stand tall without leaning heavily on the walker.
- Strength: You can lift your own body weight without your knee buckling.
- Approval: Your Physical Therapist (PT) gives you the green light.
Which Side? (The Non-Negotiable Rule)
This is the most common question. It has a strict answer.
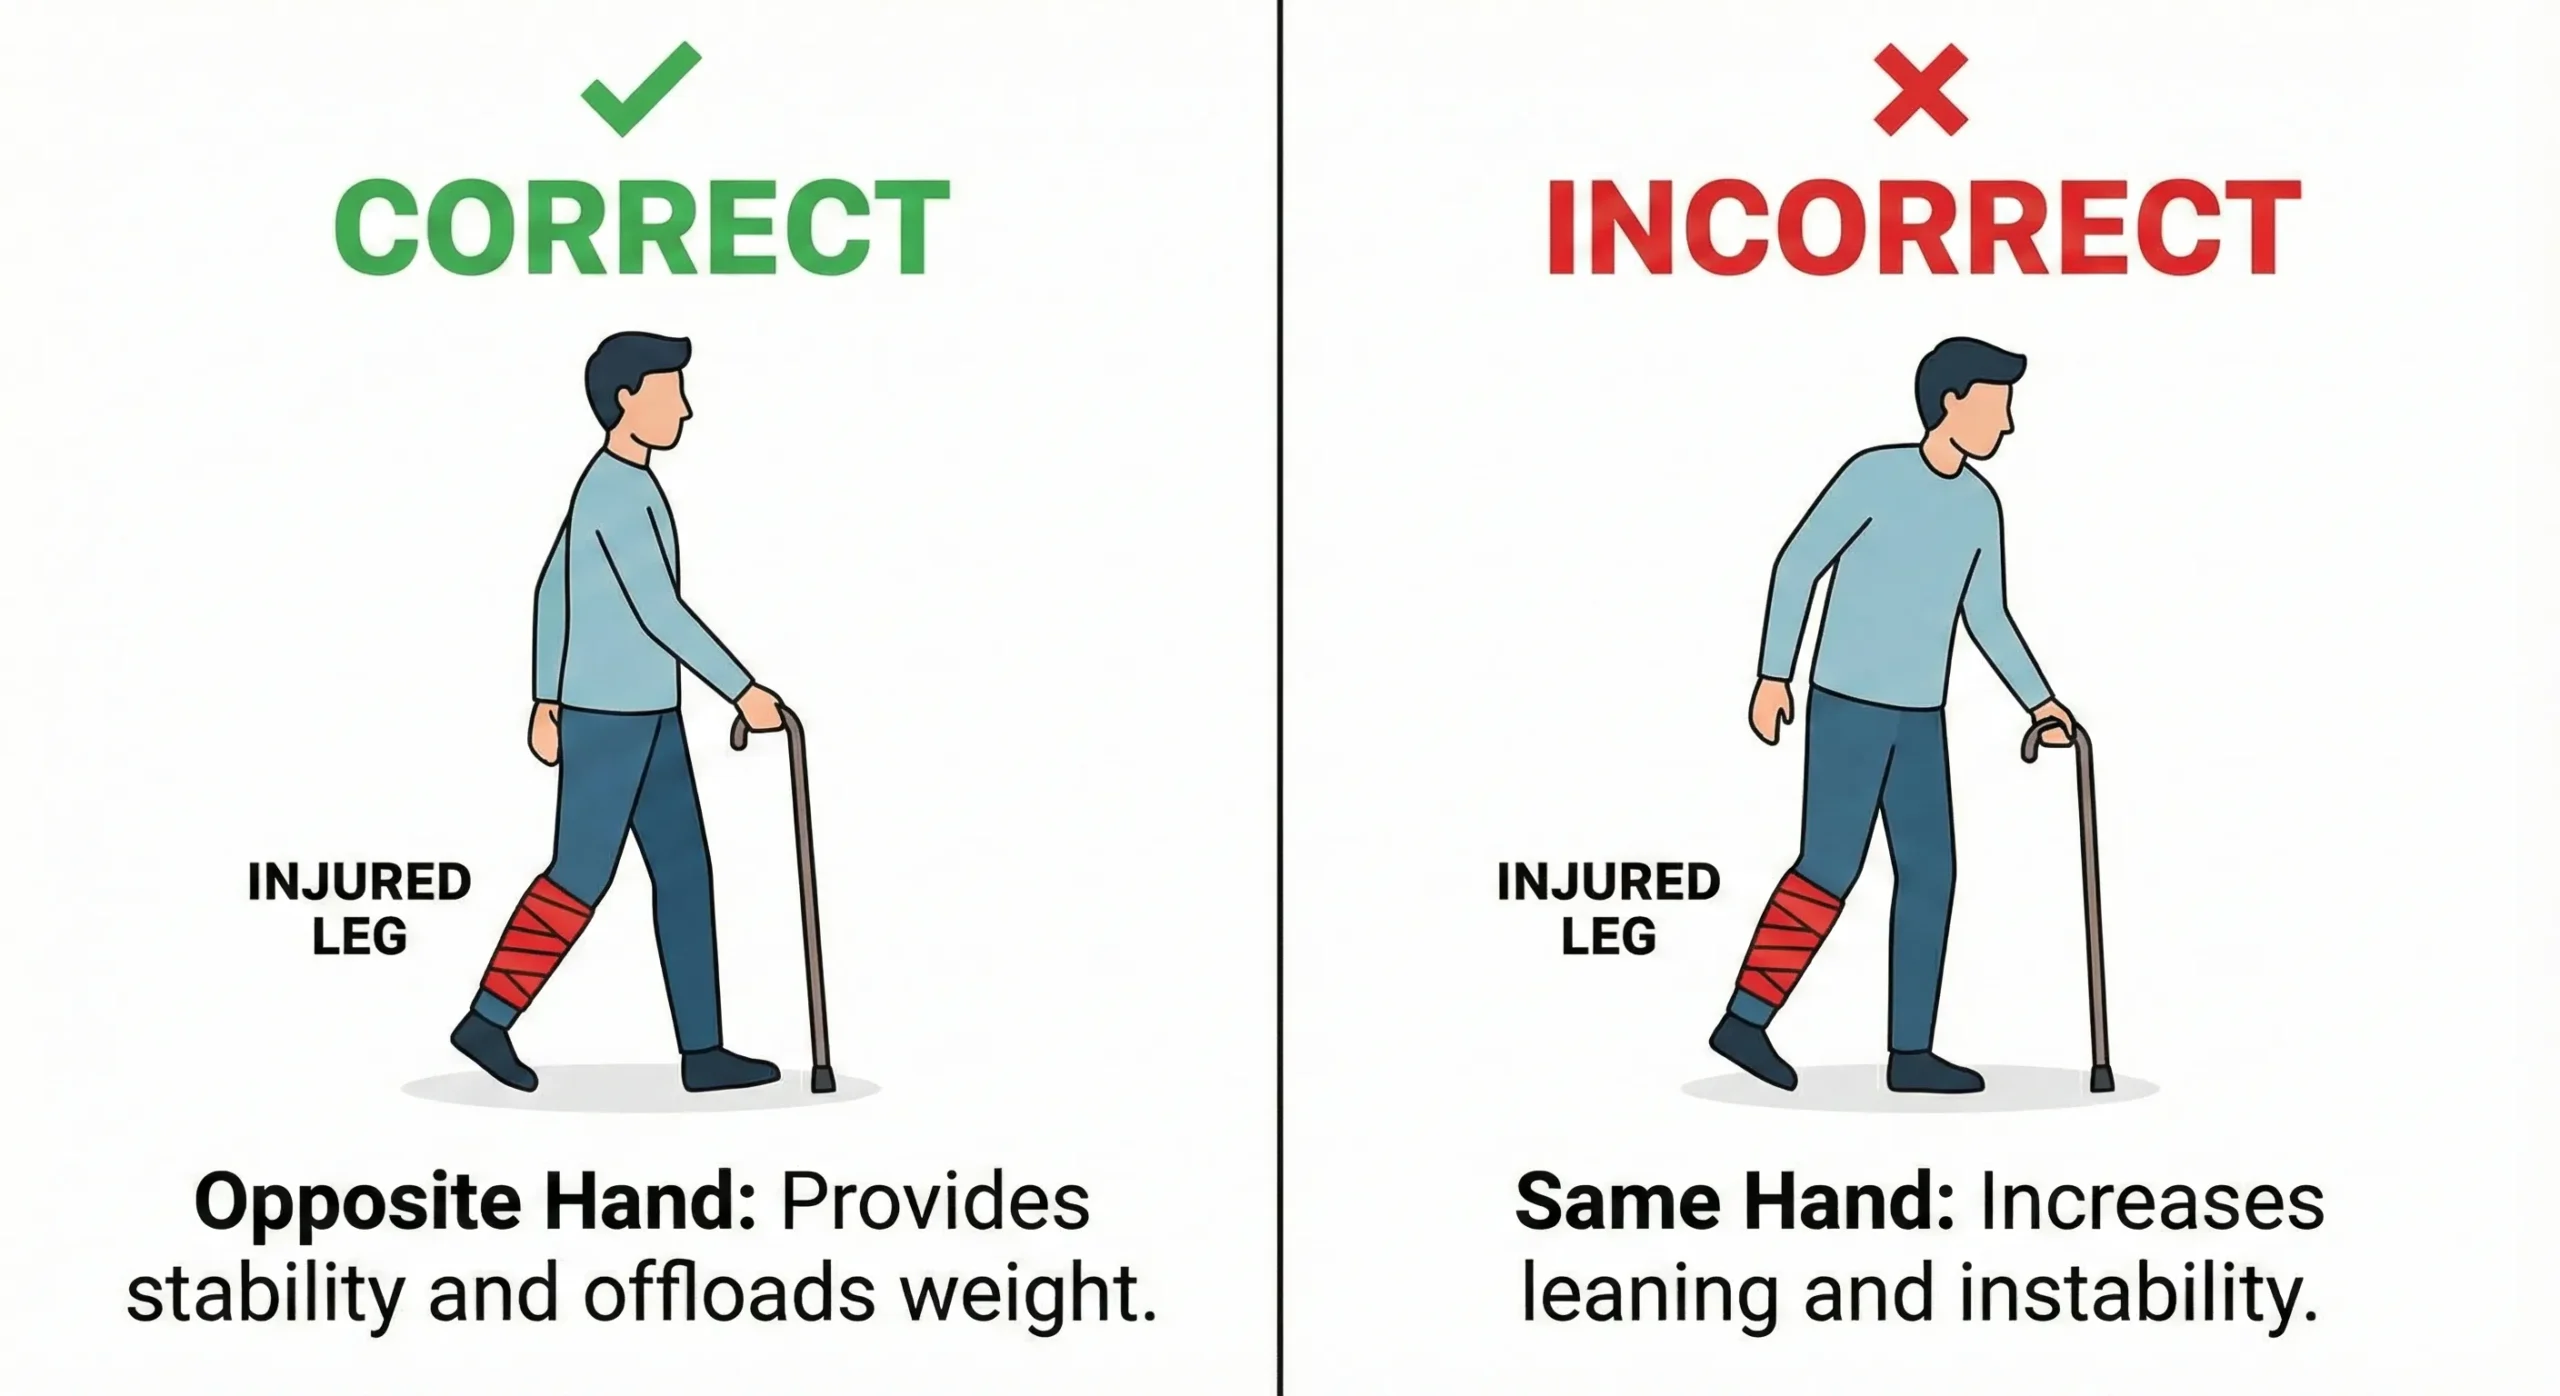
The Rule: Hold the cane in the hand opposite your operated knee.
- Operated on Right Knee? → Hold cane in Left Hand.
- Operated on Left Knee? → Hold cane in Right Hand.
Understand the science behind it: Which Side to Use a Walking Cane? (The Golden Rule).
Why? This keeps your weight off the new joint. When you step with your new knee, you push down with the opposite hand. This shares the load. If you hold the cane on the same side, you lean into the pain, which causes a waddle.
The 3-Point Gait (How to Step)
You, the cane, and your bad knee must work as a team. This specific pattern is called the “3-Point Gait.”
Follow this rhythm:
- Cane Forward: Move the cane forward about 6 inches.
- Operated Leg: Step your “new knee” forward to meet the cane. (Weight is now shared between the cane and the knee).
- Good Leg: Step through with your strong leg, passing the cane.
Pro Tip: Keep the cane close to your body. Do not reach too far forward, or the cane might slip.

Handling Stairs With a New Knee
Stairs are a challenge. Be patient.
The Mantra: “Up with the Good, Down with the Bad.”
- Going Up: Step up with your Strong Leg first. It lifts your body weight. Bring the new knee and cane up second.
- Going Down: Put the cane and your Operated Leg down first. Let gravity help you. Bring the strong leg down last.
Get our full safety guide: How to Walk on Stairs With a Cane: The Safe & Easy Way.
Crucial Safety: Always use the handrail. If you have a choice between a cane and a handrail, choose the rail. It is bolted to the wall; the cane is not.

Top 5 Mistakes After Knee Replacement
Avoid these common traps to speed up your recovery.
- The “Furniture Surf”: Do not hop from chair to chair. Use your cane. Furniture slides.
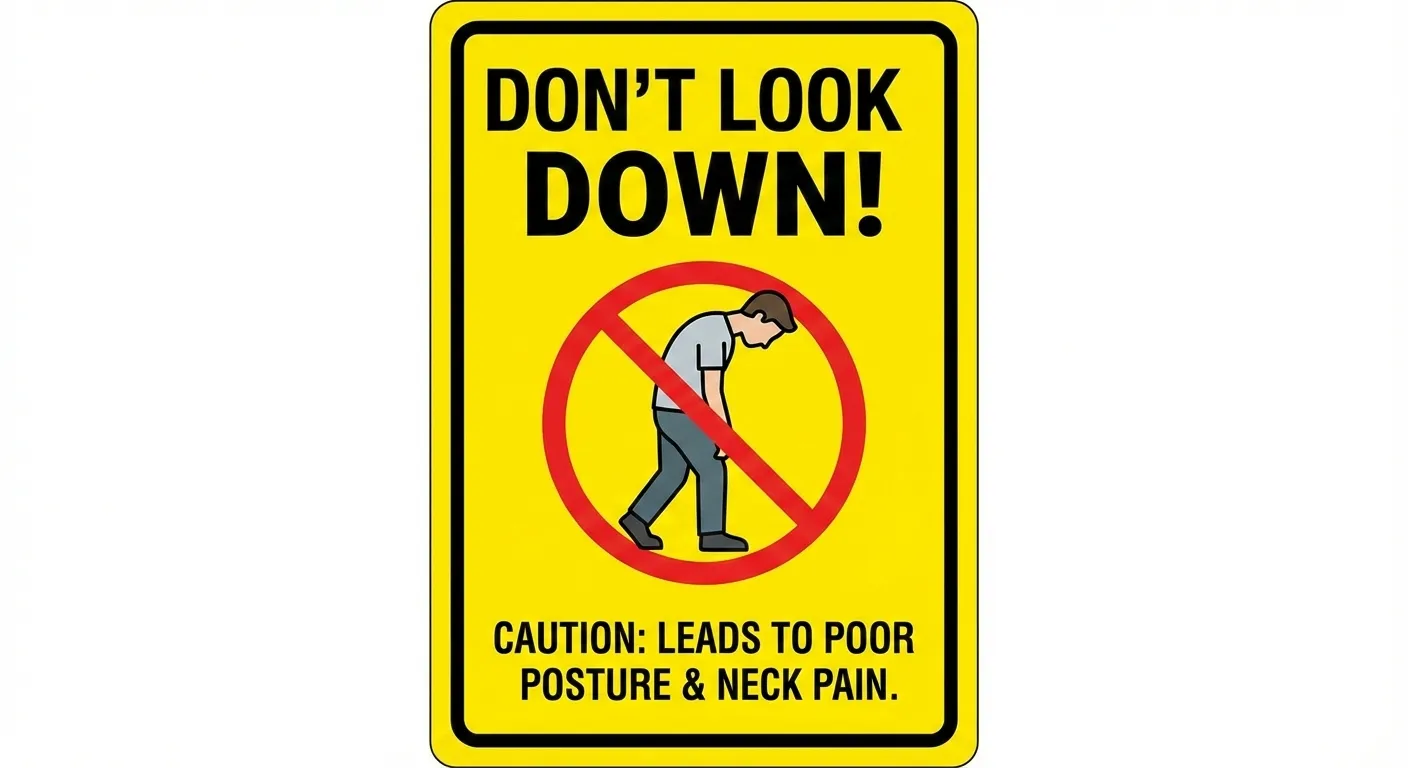
- Looking Down: Staring at your feet hurts your neck and ruins your posture. Trust your feet. Look straight ahead.
- Rushing the Transition: Ditching the cane before the limp is gone. A limp causes hip pain later.
- Wrong Height: A cane that is too high hurts your shoulder. A cane that is too low hurts your back. Measure it to your wrist crease.
- Sitting Too Low: Avoid low sofas. Struggling to stand up puts massive strain on a healing knee.
Check our sizing guide: Walking Cane Height: How to Measure for the Perfect Fit.
Best Walking Stick After Knee Replacement
💡 Expert Tip: Need maximum stability during recovery?
Check our Pillar Guide: Walking Cane with Feet Review: Best Options for Balance & Stability.
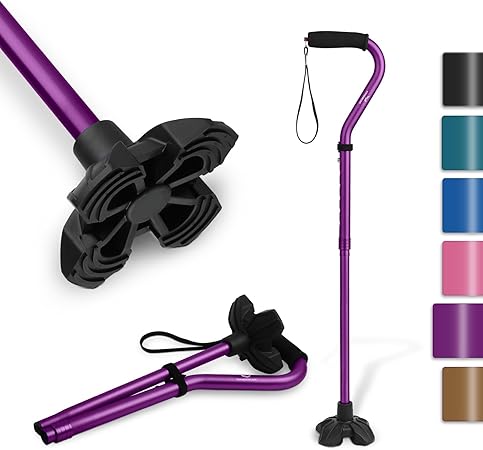
You need stability above all else. A flimsy cane is dangerous right now.
- Offset Handle Cane: This is the best overall choice. The handle shape centers your weight directly over the shaft.
- Quad Cane: Good for the first week if you are very unsteady. It stands on its own. However, it can be heavy to lift.
- Folding Cane: Good for later stages of recovery. It fits easily in a car or restaurant booth.
| Best Heavy Duty | Best Portable | Best Stability |
|---|---|---|
 Heavy Duty All-Terrain Check Price |
 Vive Folding Check Price |
 KINGGEAR Quad Check Price |
Frequently Asked Questions (FAQs)
How long do I need the cane?
Most patients use a cane for 2 to 6 weeks after leaving the walker. Stop using it only when you can walk without a limp and without pain.
Can I use a hiking pole?
Yes, hiking poles are great for posture. Just ensure it has a rubber tip, not a metal spike, so it doesn’t slip on tile floors.
What if my hand hurts?
Your hand is doing a lot of work right now. Get a cane with a soft foam or gel grip. It reduces the pressure on your palm.
Final Thoughts: Trust Your New Knee
The cane is a tool, not a crutch. Use it to build a perfect, non-limping walk.
Listen to your Physical Therapist. Once the limp is gone and your strength returns, leave the cane at home for short trips. You will be walking freely soon.
Ready to Walk Confidently?
Get the Vive Offset Cane for maximum stability.
Get a Stable Offset Cane Today →
Tariqul
Tariqul is a dedicated health and wellness blogger with a background in health sciences. With years of experience in patient education and health communication, he focuses on providing accurate, easy-to-understand information to help readers make informed decisions about their well-being. Passionate about bridging the gap between clinical knowledge and everyday life, Tariqu ensures his content is both practical and medically sound.