
You might feel that using a cane signals a loss of independence. The opposite is true. A cane gives you freedom. It lets you move faster, walk further, and reduce pain.
Many people use canes incorrectly. They hold it in the wrong hand or set the height too low. This leads to back pain and a limp.
Here is the golden rule:
Hold the cane in the hand opposite your weak or injured leg. If your right knee hurts, hold the cane in your left hand. This mimics your natural stride and offloads weight effectively.
Table Of Contents
First: Size Your Cane Correctly
Do not skip this step. A cane at the wrong height ruins your posture. If it is too high, your shoulders will hurt. If it is too low, you will hunch over and strain your back.
Follow the Wrist Crease Rule to get the perfect fit:
- Stand up straight with your regular walking shoes on.
- Let your arm hang naturally at your side. Do not lock your elbow.
- The top of the cane handle must line up with the crease of your wrist.
- Grab the handle. Your elbow should now have a slight bend (about 15 to 30 degrees).
Read our full tutorial: Walking Cane Height: How to Measure for the Perfect Fit.
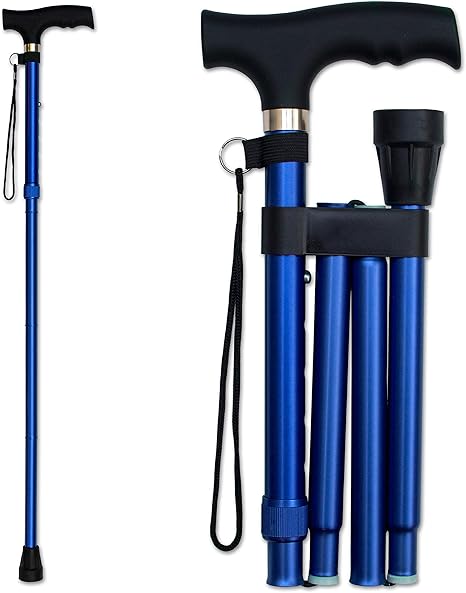
Most modern aluminum canes have adjustable push-buttons. Wood canes require you to saw off the excess length.

Recommended Adjustable Canes


Which Hand Do You Use? (The Golden Rule)
This creates the most confusion. Logic suggests you should hold the cane on your “bad” side to support it. That is wrong.
You must hold the cane in the hand opposite your weak leg.
Why? Think about how you walk. When your left leg steps forward, your right arm swings forward. This creates balance. Holding the cane in the opposite hand replicates this natural motion. It creates a wide base of support and shifts weight away from your painful side.
- ✓ Bad Left Knee: Use Right Hand.
- ✓ Bad Right Knee: Use Left Hand.

The 3-Step Walking Technique
Once you have the cane in the correct hand, focus on your rhythm. This technique helps you walk without limping.
- Step 1: Move the cane and your weak leg forward at the same time. Keep the cane close to your body.
- Step 2: Plant the cane tip firmly on the ground. Use it to support your weight.
- Step 3: Step through with your strong leg.
Do not take huge leaps. Keep your strides short and rhythmic. If you reach the cane too far out in front of you, it might slip.

Handle Stairs Like a Pro
Stairs often scare people with balance issues. Use this simple phrase to remember the order: “Up with the Good, Down with the Bad.”
Going Up Stairs:
- Step up with your Strong (Good) leg first. Your strong leg lifts your body weight.
- Bring the cane and your weak leg up to the same step.
Going Down Stairs:
- Put the cane down on the lower step first.
- Step down with your Weak (Bad) leg.
- Bring your strong leg down last.
Always use the handrail with your free hand if one is available.
Read our complete safety guide: How to Walk on Stairs With a Cane: The Safe & Easy Way.
Choose the Right Cane for Your Needs
💡 Expert Tip: Looking for the most stable cane on the market?
Check out our Ultimate Pillar Guide: Walking Cane with Feet Review: Best Options for Balance & Stability.
Not all canes offer the same stability. Your choice depends on your specific condition.
| Cane Type | Stability | Best Used For |
|---|---|---|
| Standard (Offset Handle) | Medium | Arthritis, mild hip/knee pain, occasional balance help. |
| Quad Cane (4-Prong) | High | Post-stroke recovery, severe vertigo, significant weakness. |
| Folding Cane | Low-Medium | Travel, car storage, users who only need help occasionally. |
If you need maximum support, a Quad cane stands on its own and prevents falls. However, it is heavier to lift.
| Top Pick | Best Value | Most Popular |
|---|---|---|

|

|

|
REHAND Walking Cane |
Foldable Heavy Duty Cane |
HurryCane Freedom Edition |
|
Foldable & Adjustable Includes Travel Bag Heavy Duty All-Terrain Tip |
Free Standing Design Heavy Duty Support Collapsible for Seniors |
Comfort T-Handle SteadiGrip Base Premium Build Quality |
| Check Price | Check Price | Check Price |
Avoid These Common Rookie Mistakes
New users often develop bad habits that cause more pain. Watch out for these errors.
- Looking at your feet: This throws off your center of gravity. Look straight ahead at the path.
- Holding your breath: Relax. Breathe with your steps.
- Using a worn-out tip: The rubber tip at the bottom is your brake. If the tread is gone, you will slip.
- Borrowing a cane: Never use a friend’s cane without adjusting the height first.
Community Insight: A user on the r/PhysicalTherapy subreddit noted that switching to an “Ice Tip” attachment is crucial for winter walking. Standard rubber tips harden and slide on cold pavement.

Frequently Asked Questions (FAQs)
Which leg goes first when using a cane?
The cane moves at the same time as your weak leg. The strong leg follows after the cane is planted.
How do I fix a limp while using a cane?
Shorten your stride. A limp often happens because you are trying to walk too fast or taking steps that are too long. Slow down and focus on the “Cane-Step, Strong-Step” rhythm.
Can I use a cane for back pain?
Yes. A cane reduces the load on your spinal column. If your back pain is general, switch the cane between hands occasionally to prevent muscle imbalances, or use the hand opposite the side that hurts the most.
What are the disadvantages of using a cane?
It occupies one hand, making it hard to carry groceries or open doors. It can also cause wrist strain if the handle does not fit your hand properly.
Community Insight: On Quora, many users discuss the “stigma” of looking old. The consensus is clear: It is better to use a cane and walk confidently than to fall and suffer a major injury.
Final Thoughts: Walk With Confidence
Using a cane is a skill. It takes practice. Start inside your house before you tackle uneven sidewalks.
Check your equipment regularly. If the rubber tip looks bald, replace it immediately. With the right height and the “Opposite Hand” technique, you will walk straighter and with less pain.

Tariqul
Tariqul is a dedicated health and wellness blogger with a background in health sciences. With years of experience in patient education and health communication, he focuses on providing accurate, easy-to-understand information to help readers make informed decisions about their well-being. Passionate about bridging the gap between clinical knowledge and everyday life, Tariqu ensures his content is both practical and medically sound.